Driving Lights on an F650GS, Page 10 |
Top Page 1 Page 2 Page 3 Page 4 Page 5 Page 6 Page 7 Page 8 Page 9 Page 10
When last we looked, we had an F650GS with a light bar better suited to a Gold Wing... Or perhaps a Beetle.
After a bit of thought, I decided to bring the bars just inside the triangle defined by the handlebar ends and the tire sidewalls, giving sufficient clearance that the entire light bodies will fit within the area. I figured that this way, so long as the handlebars themselves hadn't bent, the lights would be protected from the ground. Rocks are... inevitable. Maybe I'll fab up some cages.... *note to self, fab up come cages*.
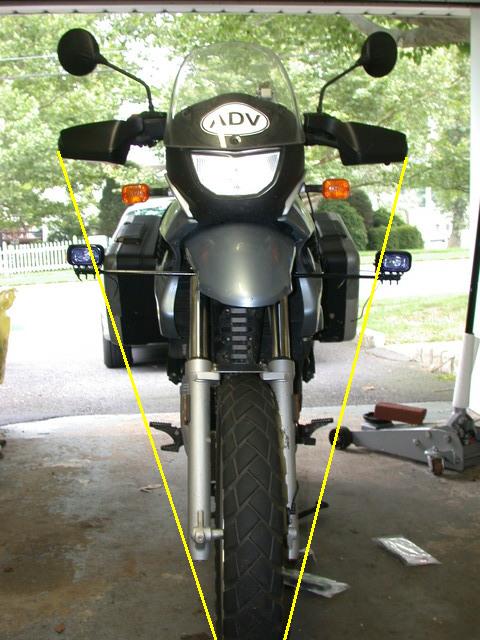
Of course, when I pulled the motorcycle out of the shed, there were no yellow lines. This was a poser, because when I tried to paint them on the air they wouldn't stay.
The answer, of course, was Simpson's Stringettes, tied end-to-end to create a complete string. Since I didn't have any Simpson's Stringettes, I just used some kitchen twine.
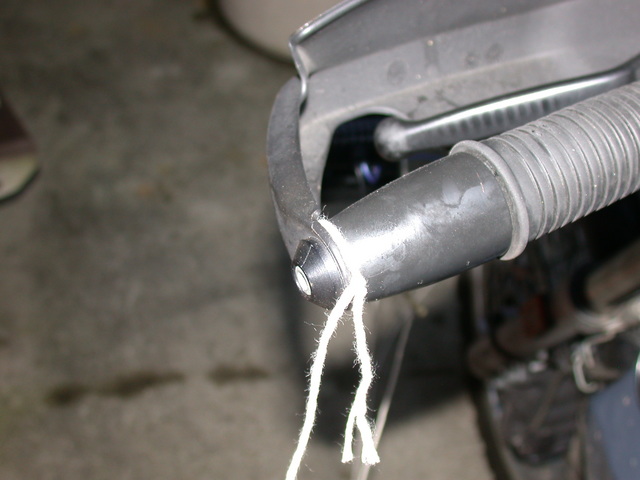

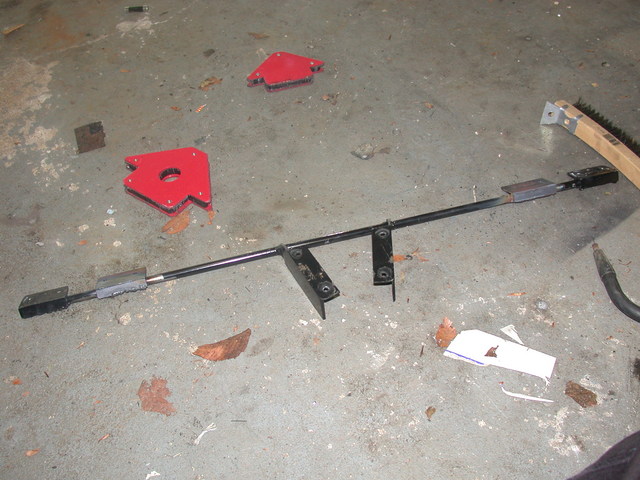
I marked the bars where the strings crossed, using a carbide scriber, then I evened things out with a measure. I wound up taking them down to 231.5mm (Hey, I had a metric tape handy at the time) outside the bracket edges, down from the 12" (12 * 25.4 = 304.8 mm) they were originally.
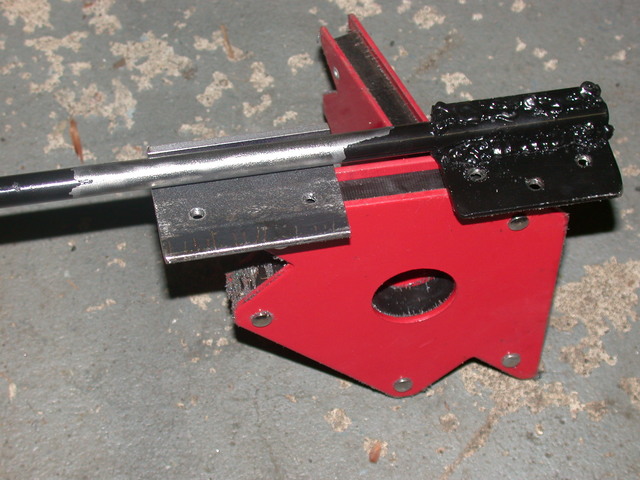
I fabbed up some new mounting brackets, much along the lines of the ones back on page seven. I was able to be a bit quicker about it this time around, better efficiency from experience.
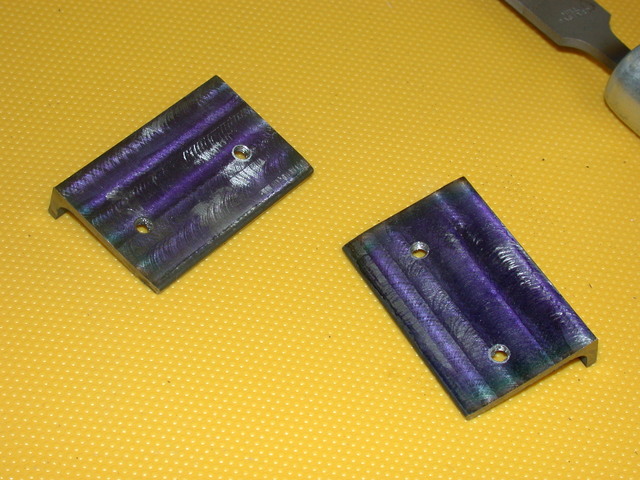
Then I cleaned up the areas to be welded with a wire wheel in my angle grinder.
For once in my life I was smart. Hooray for me! Rather than cutting off the ends, and then attempting to mount the new brackets, I left everything in place. This way I was able to hold everything in place with a big welding magnet, and level was automagically maintained for me.


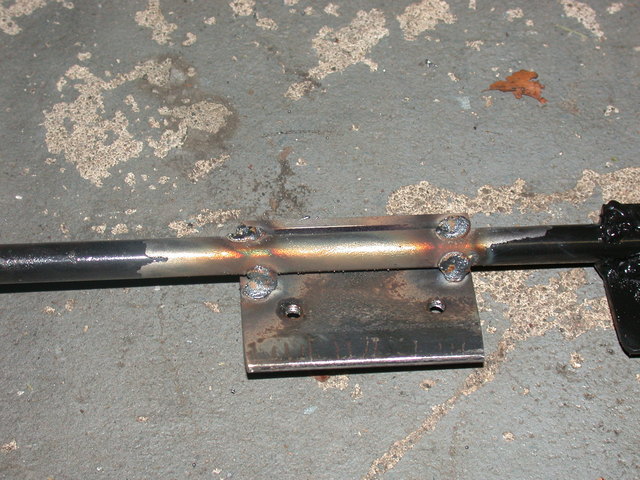
Finished up my welds (I think they're getting a little better now)
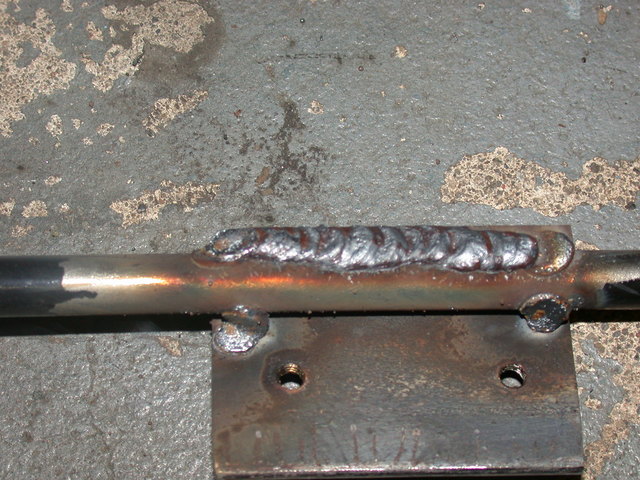
Then I just took it down to the bandsaw, cut off the extra bits at the bandsaw, cleaned up, primed and painted, just like last time. It was a hot, sunny day, and I took advantage by hanging the thing outside the shed to cure. It was much faster than last time.
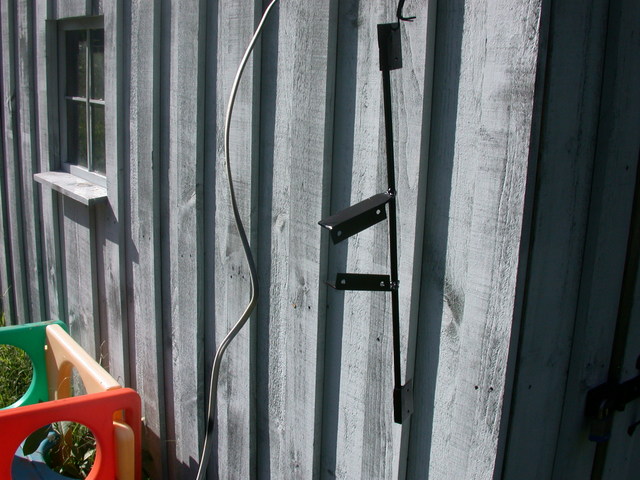
And installed it. I like it a lot more than the first try, and I've got some spare light mounts now, with short bar ends, ready for mounting to SOMETHING...
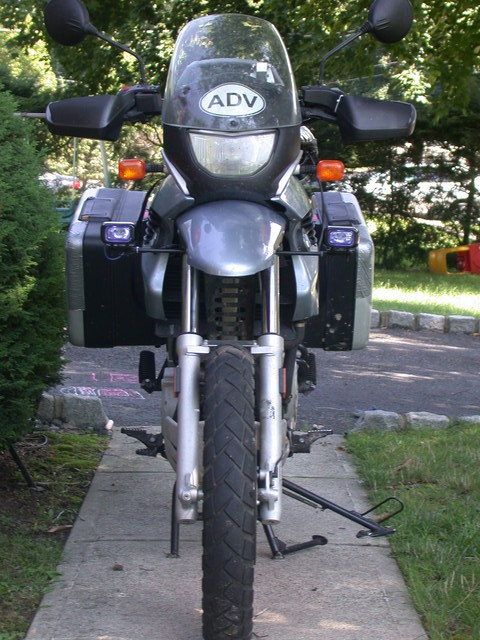
The bike looks better, and I'm sure it's more fall-worthy now, at least with regard to the driving lights. The lights look pretty good during daytime, but I haven't taken it out at night to aim them properly yet. I WILL say that the castings the lights are made of are not necessarily the best on the planet (shock!), and I had a porosity issue that caused breakage in the threaded area of one of the light bodies. This is currently being handled as a warranty issue, and I have replacement lights currently installed on the motorcycle.
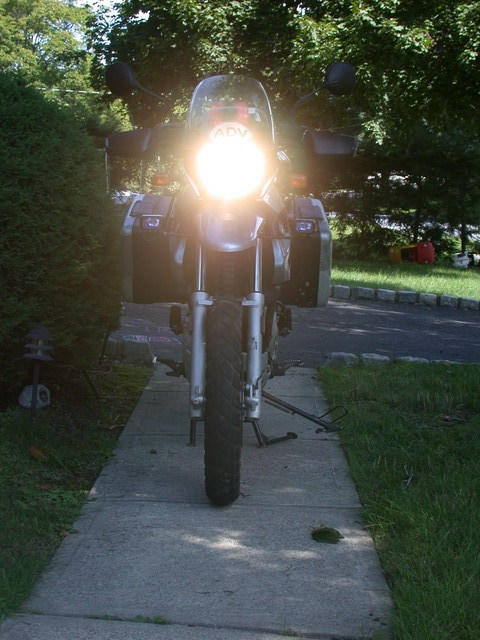
Low beams
Brights
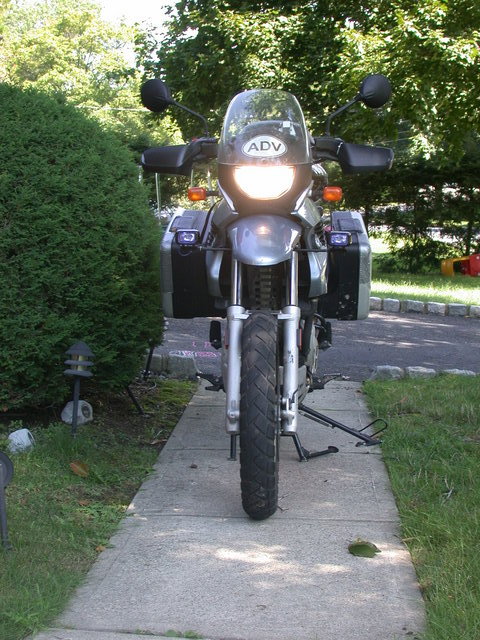
Brights + Driving.
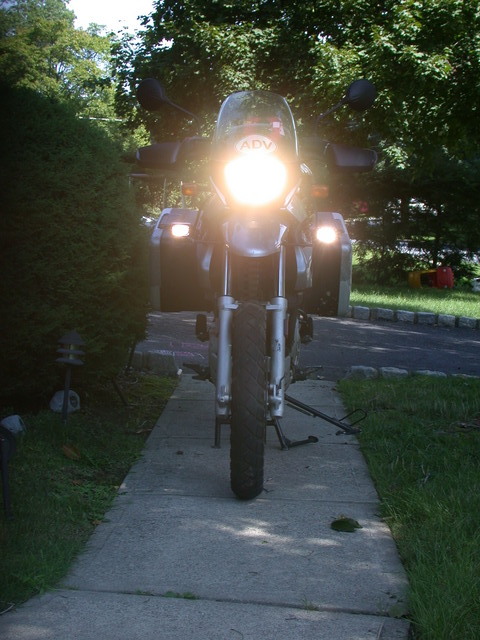
With the lights on, it's certainly brighter, but it's hard to tell yet what the net effect at night will be, particularly until I nail the vertical aim. The net effect is a bit better than the photographs show. The camera automatically compensated for the brightness level I guess, so I need to do some processing or something. Basically, I aligned them by eye so that all three lights seem to get suddenly brighter at the same eye height, and used some loctite. I continued to tweak them after this photograph was taken, and it's a pretty bright face coming at you.
I can always upgrade to better lights in the future if I feel dissatisfied. I'm just happy that a 20 dollar part prompted me to build something useful.
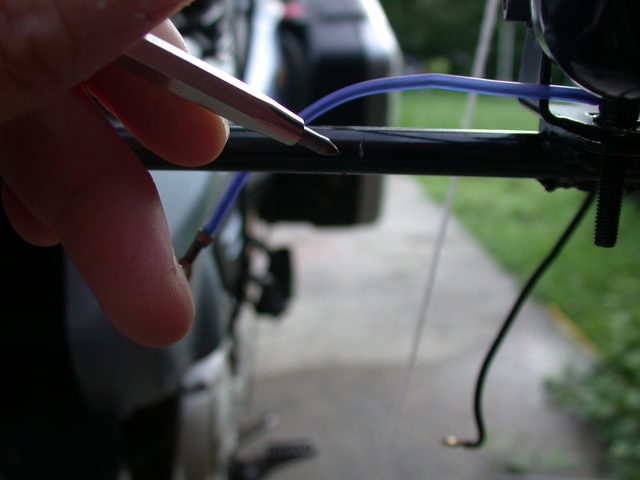
Electrical installation, including tapping into the headlight circuits, switch and relay installation, are also done and photographed for the most part. The end result is mostly unobtrusive, except for a horrible yellow wire across my handlebars. That's wrapped up in a bit of black mesh which tones it down quite a bit. I am also seeking a nice, weatherproof switch to use in place of the stocker, which was designed for automotive use, and doesn't look particularly weather resistant. Perhaps a nice rubberized pushbutton would suit. I think what I want I'll have one switch to control both these driving lights and a set of fogs, with a dpst switch to control them. I wouldn't want all of them on at once of course (I've only got 400 watts of alternator), but that's handled by tapping high/low beams anyway.
Ah yes, fog lights... I have a set of those, too, and will likely mount them inboard and below the drivers on the same rod. I foresee more fabrication in my future.
Top Page 1 Page 2 Page 3 Page 4 Page 5 Page 6 Page 7 Page 8 Page 9 Page 10