Driving Lights on an F650GS, Page 9 |
Top Page 1 Page 2 Page 3 Page 4 Page 5 Page 6 Page 7 Page 8 Page 9 Page 10
Well, we're basically done with the metal fabrication at this point, with a small exception I'll get to later. I shot a couple of coats of Rustoleum automotive primer on the thing.
And then I followed that up with some Rustoleum Gloss Black enamel. The match with the light pods is very good, the finish is smooth (except where I messed it up the next day, D'oh!) and it ought to keep the steel from corroding too quickly... I hope.
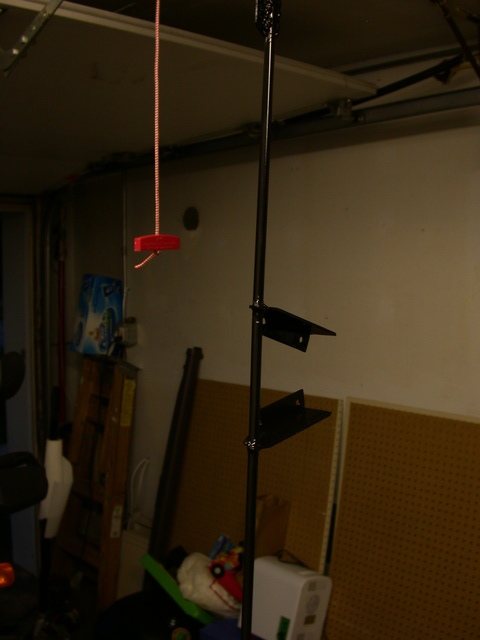
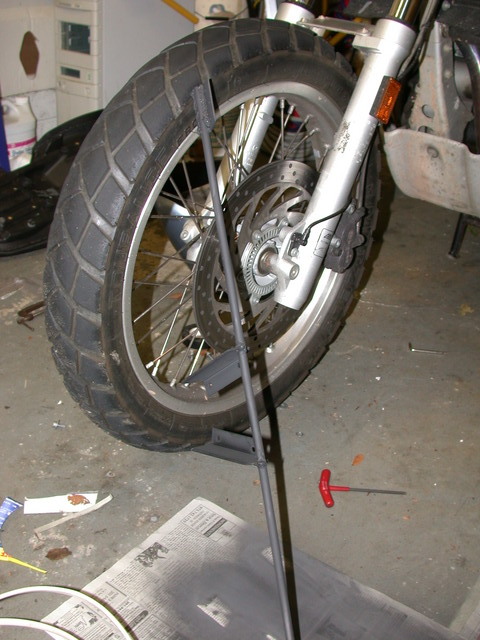
The enamel paint takes 24 hours to fully cure, so I left it hanging in the garage overnight. The next morning, it was still a bit soft where applied thickly, but dry to the touch. Just right for what I wanted to do next.
Using a little kerosene as a cutting fluid, I tapped the three 5/32 holes in each mounting pad for 10-32 threads. This is the size of the thread on the mounting bolts that come with the lights, so I figured it was a good size. It's also the size of the thread on some allen-headed bolts I have sitting around, so I could use those instead for more convenience.
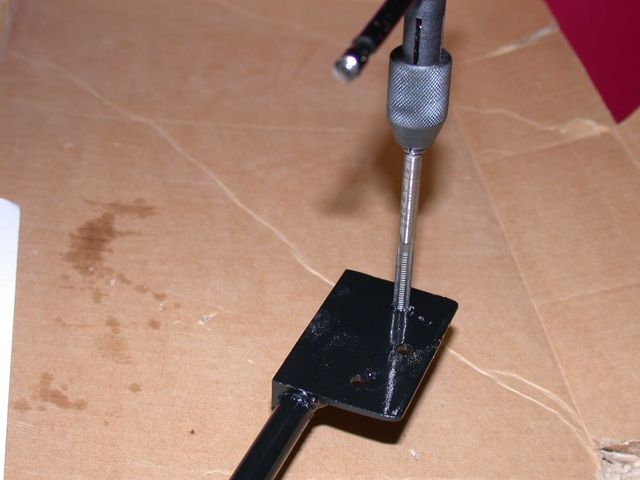
You have to be a bit careful, Kerosene (mineral spirits, actually) is the natural solvent for enamel paints. It may have handy in this case because I was also getting rid of the paint lining the holes, and I think the kerosene made the job easier. All I did was dip the cutting threads of the tap in the fluid before cutting, to lubricate things a bit. It's important to back-out the tap slightly on a regular basis, to break the chips you generate. Two steps forward and one step back sort of thing.
Here's one of the lights, mounted with three allen-headed 10-32 screws.
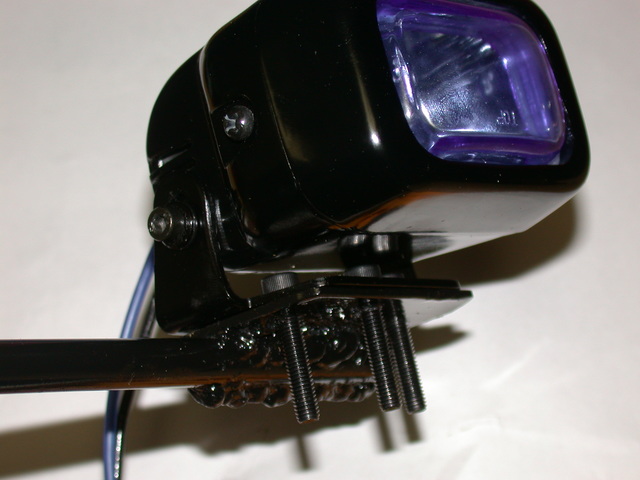
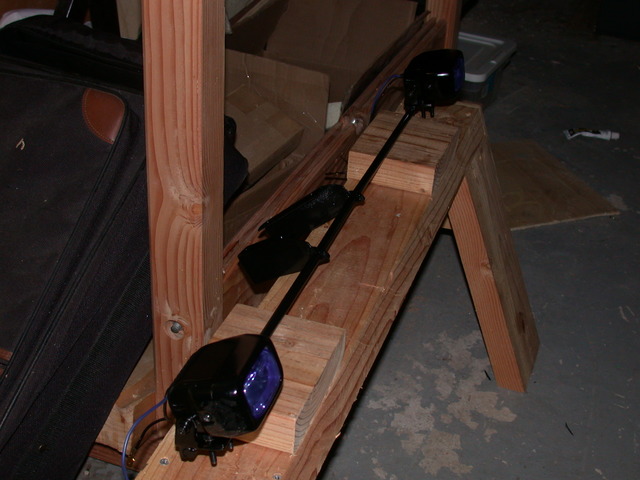
And here's the whole lightbar, ready to mount. I took the lights off the mountings after this to make the assembly lighter and easier to put on the motorcycle.
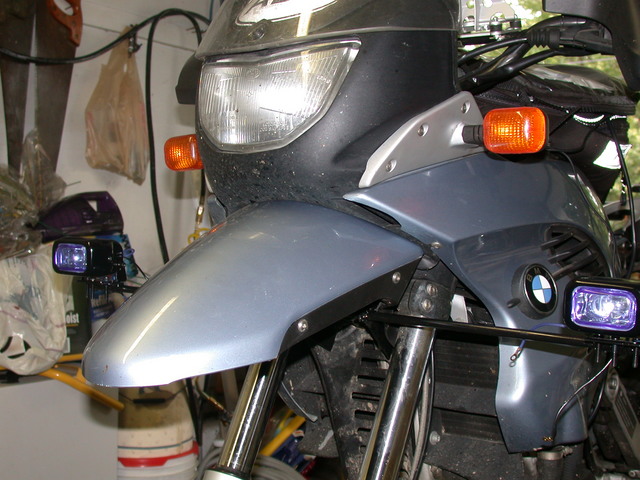
I mounted the thing back in place on the bike, using blue Loctite on everything. I wound up having to cut away some of the plastic in the horn-cover area that was getting in my way. No pictures, but I did this with a Dremel and a heavy duty cutoff wheel. I just removed the section between two of the louvers, along with a portion of one of them, to gain clearance.
The bar is a bit wide, but that should give me a good light triangle. It's still a bit narrower than my handlebars, so there's no real issue with it getting in the way. There is also plenty of room inboard to mount fog lights in the future. So here's the installed system in the garage.
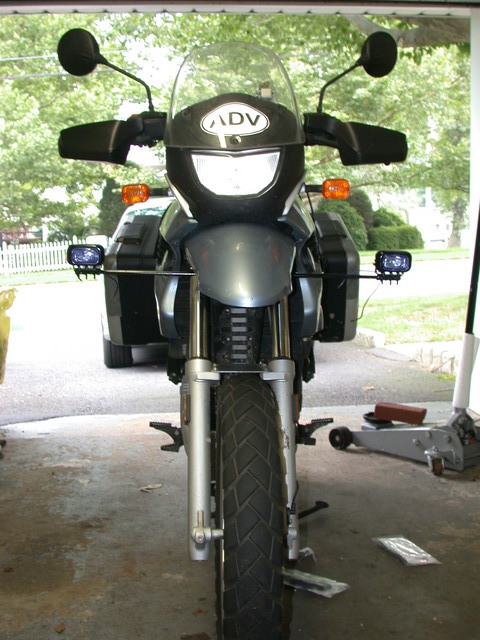
And taking the bike back out into a slightly more natural environment, we can see the full catastrophe:
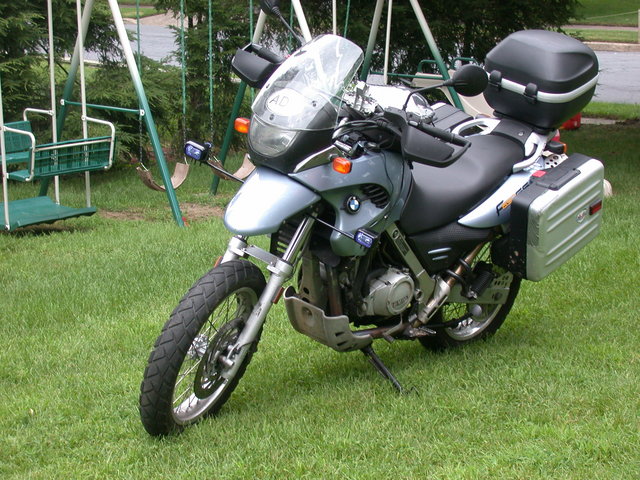
Something's wrong here, and it's not just the voices in my head.
After some conversations on the ADVRider boards, and after looking at the thing myself, I decided it would be a good idea to have a somewhat narrower light bar. It's the prospect of a drop damaging something that really prompted this, more than anything else.
So our next chapter will be about fixing what went wrong, and winds up with a rather decent result.
Top Page 1 Page 2 Page 3 Page 4 Page 5 Page 6 Page 7 Page 8 Page 9 Page 10