Driving Lights on an F650GS, Page 7 |
Top Page 1 Page 2 Page 3 Page 4 Page 5 Page 6 Page 7 Page 8 Page 9 Page 10
So now I was in the home stretch. I just had to fab up the mounting plates to attach the lights, weld 'em on, and paint the thing.
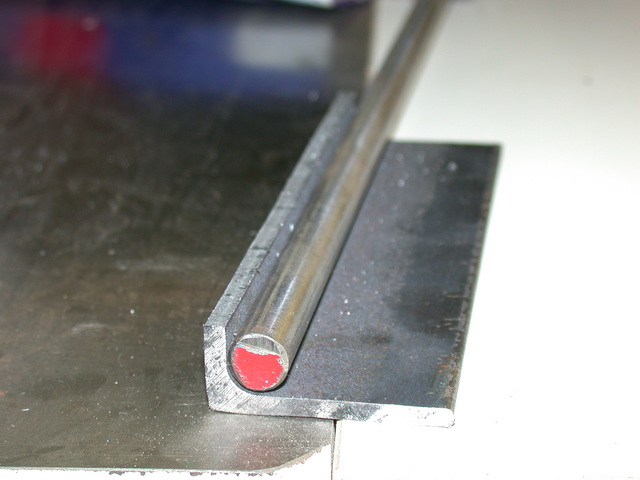
So I prepared a large enough piece of steel (more of the 1/8 x 1.5 x 1.5 inch angle iron I've been using) to fabricate both brackets from it. I left a little extra on the ends so that I could just machine the entire surface while keeping the clamps in place.
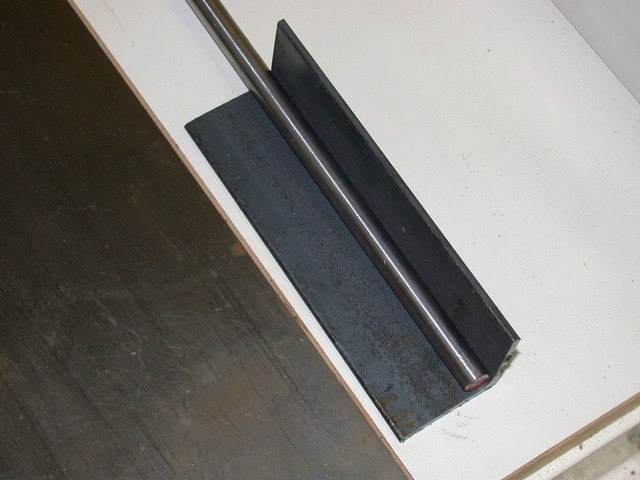
I machined the whole thing to obtain flat, square surfaces.
I left the inner radius on the corner, though, since as you can see it matches nearly perfectly with the outer radius on the main light bar. Less work is good!
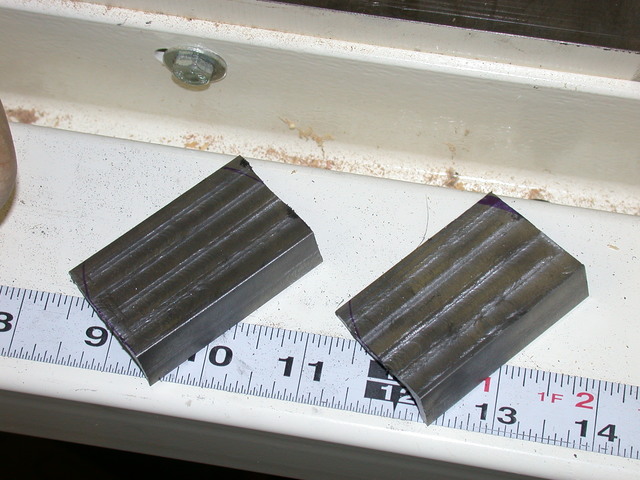
I cut the pieces to size on the bandsaw, and then marked out locations for the light mounting holes. I decided that I would just tap holes right on the bar, rather than allowing for a clearance fit.
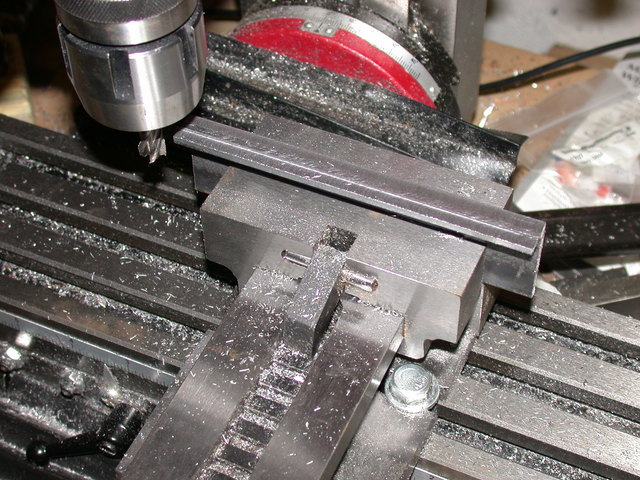
So I located the holes in one mounting pad using a marker and an original light bracket. Then I mounted it up in the mill and drilled out 5/32" holes at the required spots. This is very close, though not precisely, the ideal size for tapping a 10-32 screw hole. It is, in fact, .003 inches too small, but that makes no real difference.
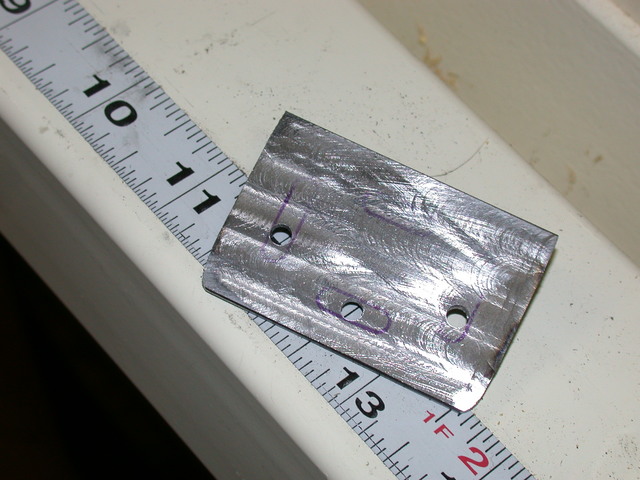
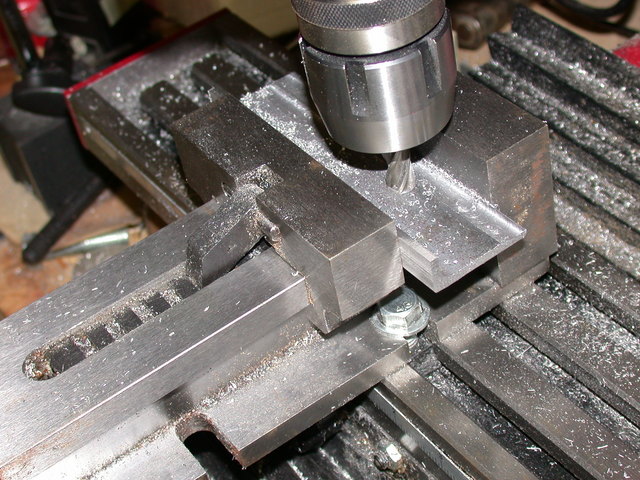
Next I matched up the two mounting pads back-to back and marked the locations on the second piece using a 5/32" transfer punch and a small hammer. This gives a nice, perfectly centered dimple for drilling the second piece. There's no need to measure, when you can mark directly.
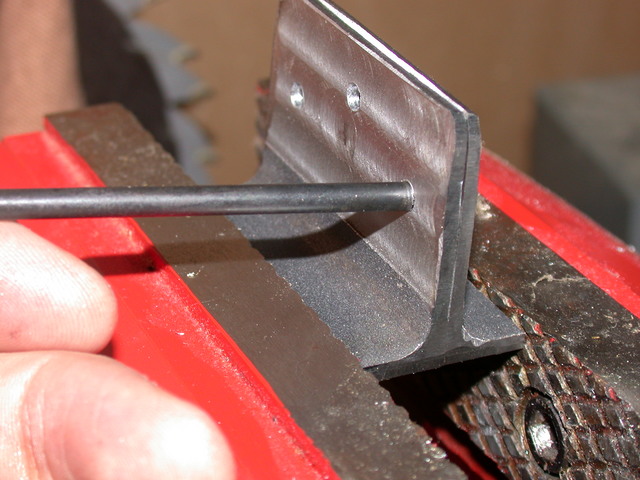
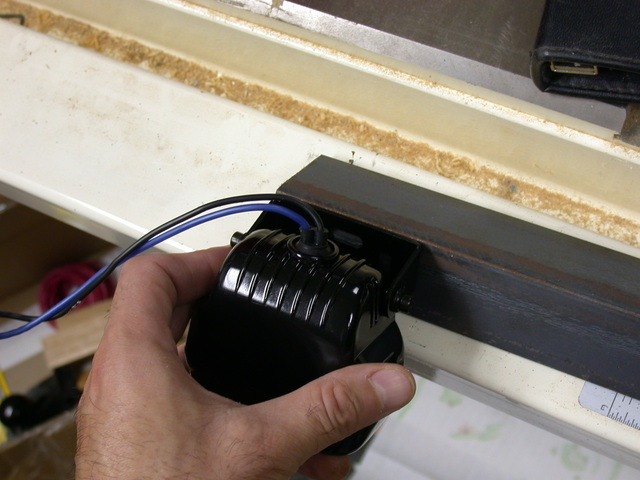
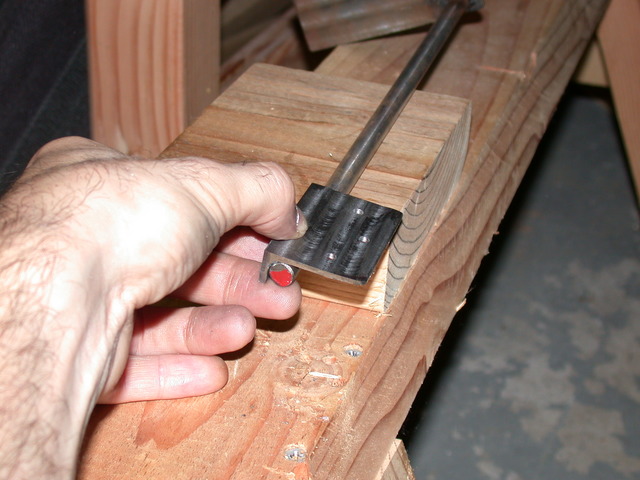
A bit more drilling, a little cleaning up, and I had two well-matched mounting pads, ready to weld into place, much like this.
Top Page 1 Page 2 Page 3 Page 4 Page 5 Page 6 Page 7 Page 8 Page 9 Page 10